As a rental business, you are often one out of many options someone is considering when they are looking to rent something. Often, it can be hard to work out how to distinguish yourself from the competition. However, taking professional-looking product photos can be a crucial element to your online store’s success.
Customers are drawn to appealing images that accurately represent your products and their associated aspirations. So if you’re looking to boost the number of bookings you receive, you’ve got to take high-quality product photos.
Let’s see how you can get the best photography for your products as a beginner, from choosing the right equipment to shooting and editing your product photos.
How to pick the right photography equipment
First, you need four essential pieces of equipment to get started with shooting product photography for your rental business. They include a camera, lighting, a backdrop, and a tripod.
This equipment can be rented or bought cheaply from a local business that specializes in camera gear. So, you’re not only helping your own business, but you’re also helping other non-competing businesses.
Camera
Your choice of camera can vary depending on your budget. Today, every smartphone has a camera that is capable of taking incredible photos. So, if you’re on a small budget and already have one to hand, it could be the best option for your photography as long as you know how to get the most out of them.
However, if you have a little more money to play with, you could rent or buy a DSLR. These are the cameras professionals use to get high-quality photography that stands out. In addition, you can often get them with a Bluetooth remote, which allows you to focus on the products you’re shooting and get multiple different setups in rapid succession.
Lighting
No matter what camera you choose to shoot your products, there is something that all great product photography has in common - excellent lighting. Conversely, if you shoot with lousy lighting, no amount of editing can save a photo from not living up to your expectations.
Of course, the best advice is always to try to use natural lighting. This can be great for products that are being shot outdoors but isn’t always achievable indoors. Therefore, if you need to shoot products inside, you need to rent or buy continuous LED lights to get the best from your products.
Backdrop
Your backdrop can be as simple as a scene that suits your products, but often when it comes to product photography, you’ll want to use a set. To get started and learn the basics of lighting and shading, you can use a plain white backdrop. However, for some products going with a colorful background can be more enticing.
Tripod
You can try your best to get good photos by simply pointing your camera and shooting at your products, but you’ll thank yourself for renting or buying a tripod. It will allow you to adjust the height and placement of your camera while reducing blur by keeping your camera more steady.
Start your rental business for just $27/month
Put your toes in the water and test the demand in your area with a rental website for just $27/month.
Best practices for styling and composing your shots
The approach you take to shooting product photos depends entirely on the type of products you rent out and your brand aesthetic. However, you can use some basic styling and composition techniques to get the most out of your product photography, regardless of your specific requirements.
Styling your products
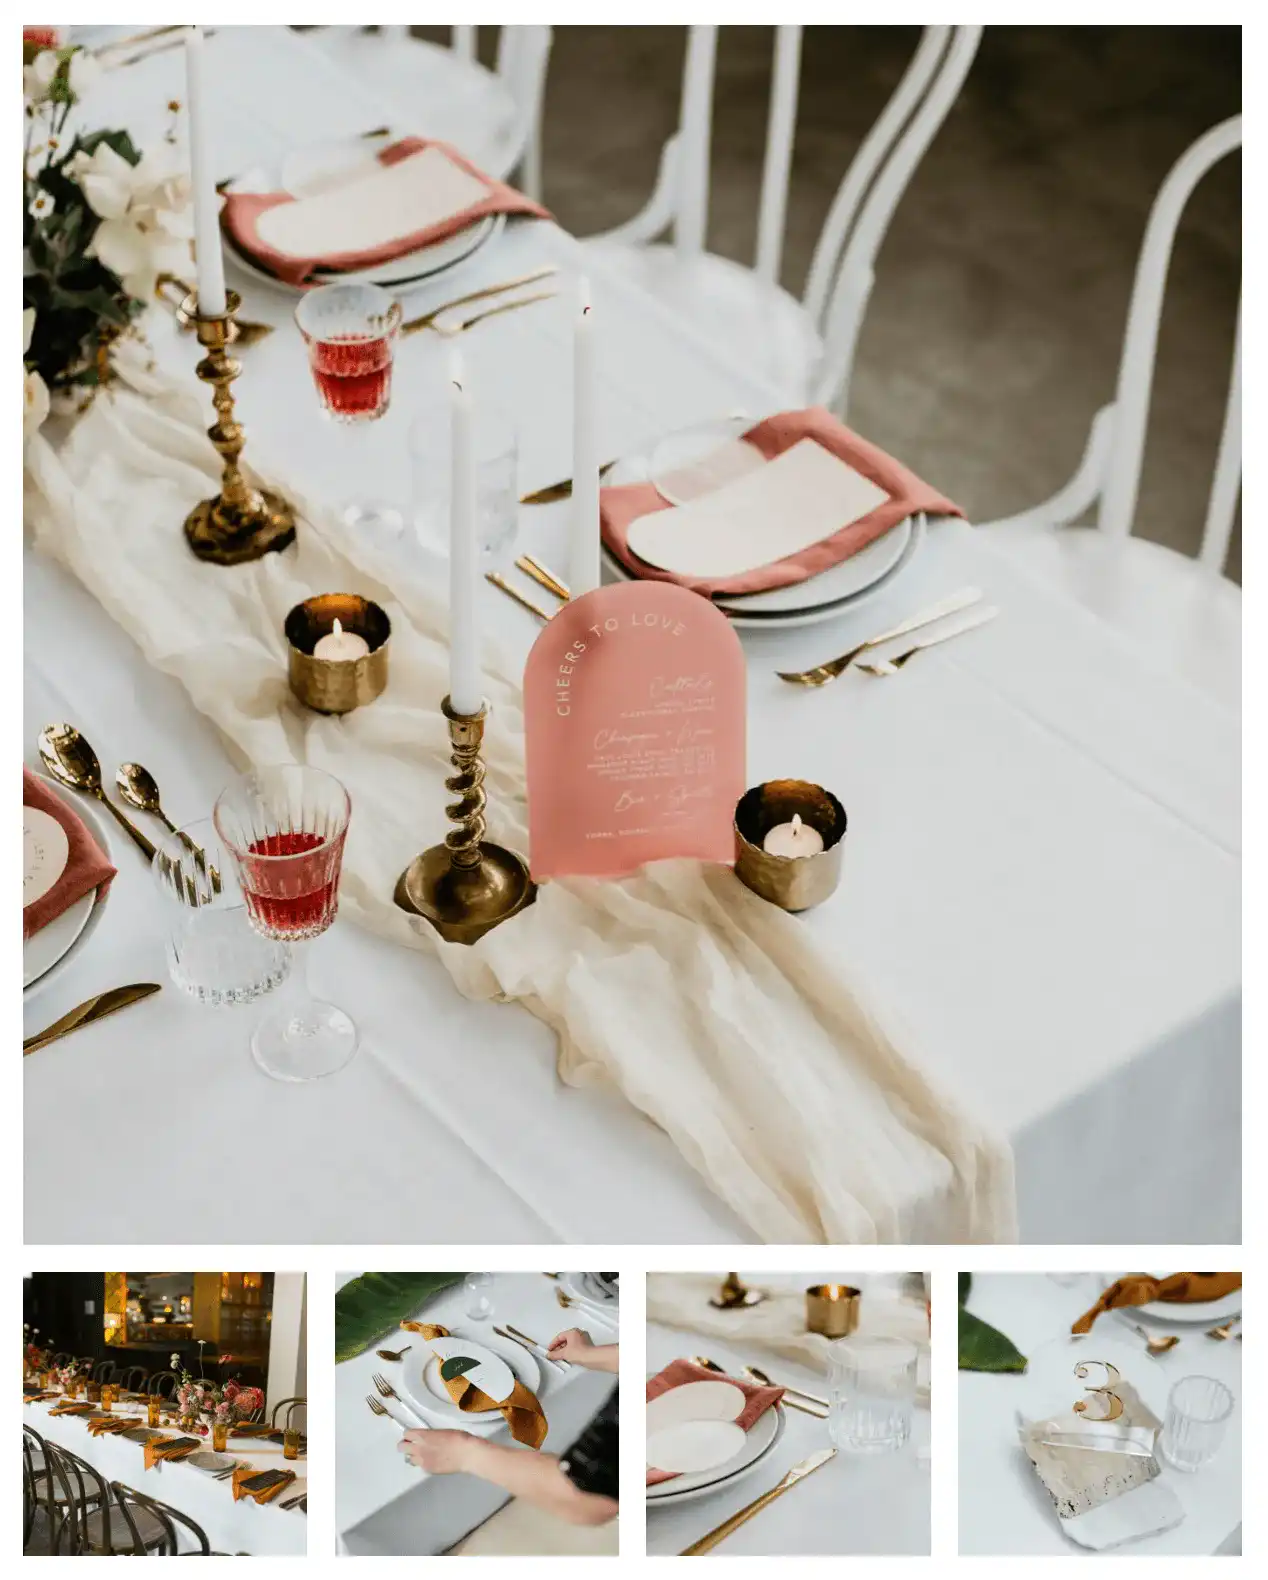
The best product photography provides context for the products being showcased. This can be the setting, props, or even use cases for your products. For example, bikes may be best shot in adventure situations, event decor in the context of a stylish event, or a camera being used to shoot a music video.
Placing your products in the context of how they are intended to be used can help your customers visualize how they might use them. This also helps to confirm people’s aspirations that determine why they’re looking to rent your products in the first place. For inspiration, look at how other brands you admire style their products.
The rule of thirds
Anyone with a passing knowledge of photography will advise you to follow the rule of thirds. It is among the most widely known photography techniques and should be at the front of your mind whenever you shoot a product. Most cameras will have a grid function that can assist you with this.
However, it can be helpful to visualize your shot as being split into nine equally sized segments. The focal point of your photos, your product, should not fall between these lines. Instead, it should be on the axis, and this is where our eyes naturally fall when looking at an image.
Product variations
As a general rule, it’s a good idea to shoot products from various angles and/or settings so that you have a good selection. This will help you find the best image for each platform and give your customers a full view of the product. For example, you may want to show your event decorations in a few different settings to show their versatility.
In addition, it is common in some industries to rent multiple variations of the same product. So, you need to make sure you capture each size, style, or color of products. This will help you to achieve consistency and inform a customer’s choice when deciding between different variations.
Editing your product photos
If you have followed these tips and best practices, you should have photos that are pretty close to polished. However, you may want to edit and retouch things like color saturation to get the most out of your images. You can learn how to do this with plenty of free tutorials that can be found on platforms like YouTube and SkillShare.
In addition, you will also need to make sure you export your photos in different file types, sizes, and dimensions. Again, these will be influenced by the platform you’re choosing to share them on. Usually, the platform you’re using will have a guideline to the best image specifications to use.
Start with building your rental website
Every new rental business starts with a website to get their first bookings.
Before you upload product photos
Finally, before you upload your product photos to your website, you need to optimize them for your online store. This includes: adding alt-text to your images with relevant keywords, naming your product photos in an SEO-friendly manner, and keeping the file size as small as possible without losing any quality.
That’s it! You’re ready to share your new product photos with the world. Not only will they be more attractive to people visiting your online store, but they will also help with your ranking in Google search results. So have fun shooting your products, and be sure to share any more best practices you come across.